Tag

lunchbox

Browsing


The summer holidays are almost at a close, and the back to school rush is fast approaching. It’s a busy time of preparation, buying supplies and packing bags. Save a few moments this January to carefully consider your child’s lunchbox by incorporating these useful tips from
JuicedLife.

1. Add colour

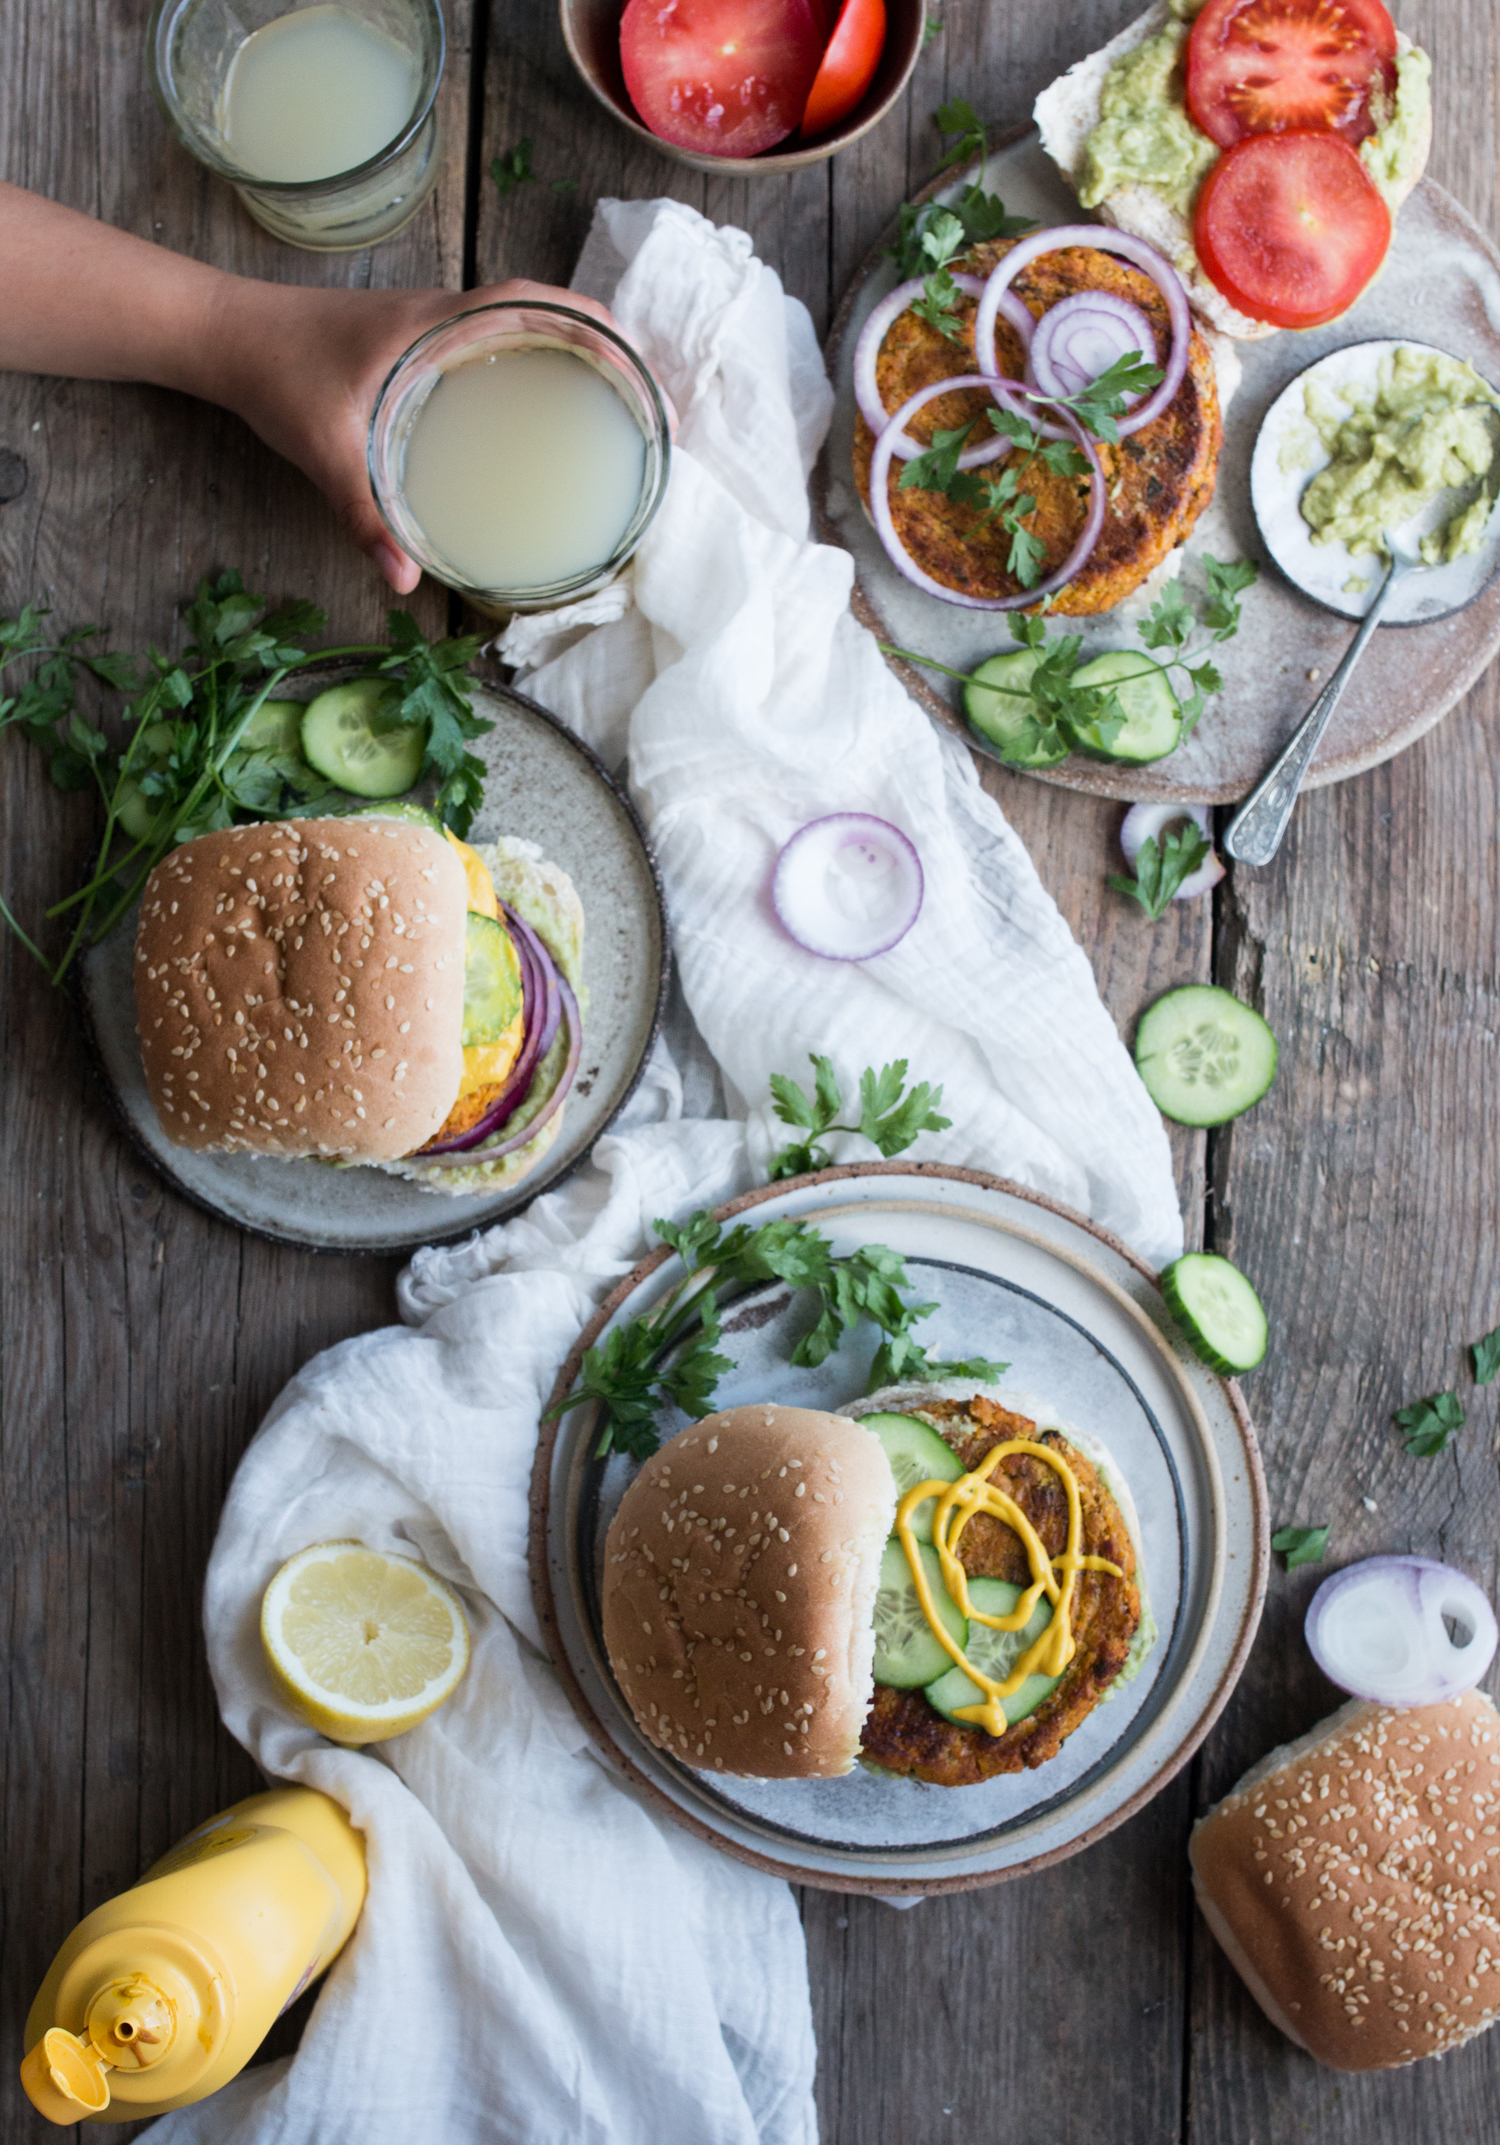
The easiest way to bring lunchtime excitement is to incorporate a range of vibrant colours into the meal. Create a rainbow explosion of green, orange, red, yellow and purple through a clever (and very strategic) choice of fresh foods. Encourage eating across the colour spectrum to promote the intake of various phytochemicals and nutrients. Snack-sized, pre-cut fruits and vegetables are easy additions, as are delicious micro-sized juice shots.

To make the process collaborative, consult with your child and consider colour-coded days. Maybe Tuesday could be “red day,” so stock the lunchbox with watermelon, whole cherry tomatoes and spaghetti bolognese sauce. Friday could be “rainbow day,” celebrating and signifying the end of the week. Play around with their favourite colours and engage your children in creating and brainstorming. Try to avoid repetition; keep it exciting!

2. Consider all the senses

Taste obviously plays a huge role in guaranteeing your child actually eats their lunch. Make sure you consider the crunch factor at every meal, as this chewing action stimulates satisfaction. Carrots, apples and rice crackers are great examples of healthy crunch.

The perfect lunchbox should incorporate and engage all the senses. Aroma is vital, so consider adding a little rose water or orange blossom to their drinking water for a pleasant lift. Avoid foods that might typically start to smell or go slimy, creating an unpleasant feel or appearance. Most children will eat with their hands, so include elements that are easy to pick up without too much mess and aren’t off-putting to touch. Importantly, ask for their feedback, particularly if they don’t eat something: why did they leave it? 

Colour adds to the overall visual appeal, but think about also presenting ingredients in creative ways to boost interest. Roll, wrap, plait and stack elements. Make it fun. 

3. Fill up on healthy, energy-boosting ingredients

To keep kids energised and raring to go at school, it’s important to fill up on the good stuff. Fruits and vegetables provide vital energy, vitamins, minerals, fibre and hydration. They aren’t high in protein and fats, though, which are also essential for satiation and overall health. 

So, make sure to also include healthy fats and protein, boosting brain health, immunity and physical energy. Don’t over-complicate it – staple additions are ideal, such as hard-boiled eggs, sliced cheese, avocado and lemon juice or olive oil, and pulled chicken. 

Avoid the temptation to rely on inexpensive starchy carbs when building your child’s lunchbox. Limit rice, bread, pasta, biscuits, crackers, etc. and instead choose simple and clean whole foods with minimal processing. While they are easy to reach for in the supermarket, they lack the health benefits and satiation required. 

4. Choose convenience (without sacrificing health)

 A healthy lunchbox shouldn’t come at the cost of your time and sanity – there are plenty of simple solutions that are low on preparation but high in nutritional value.

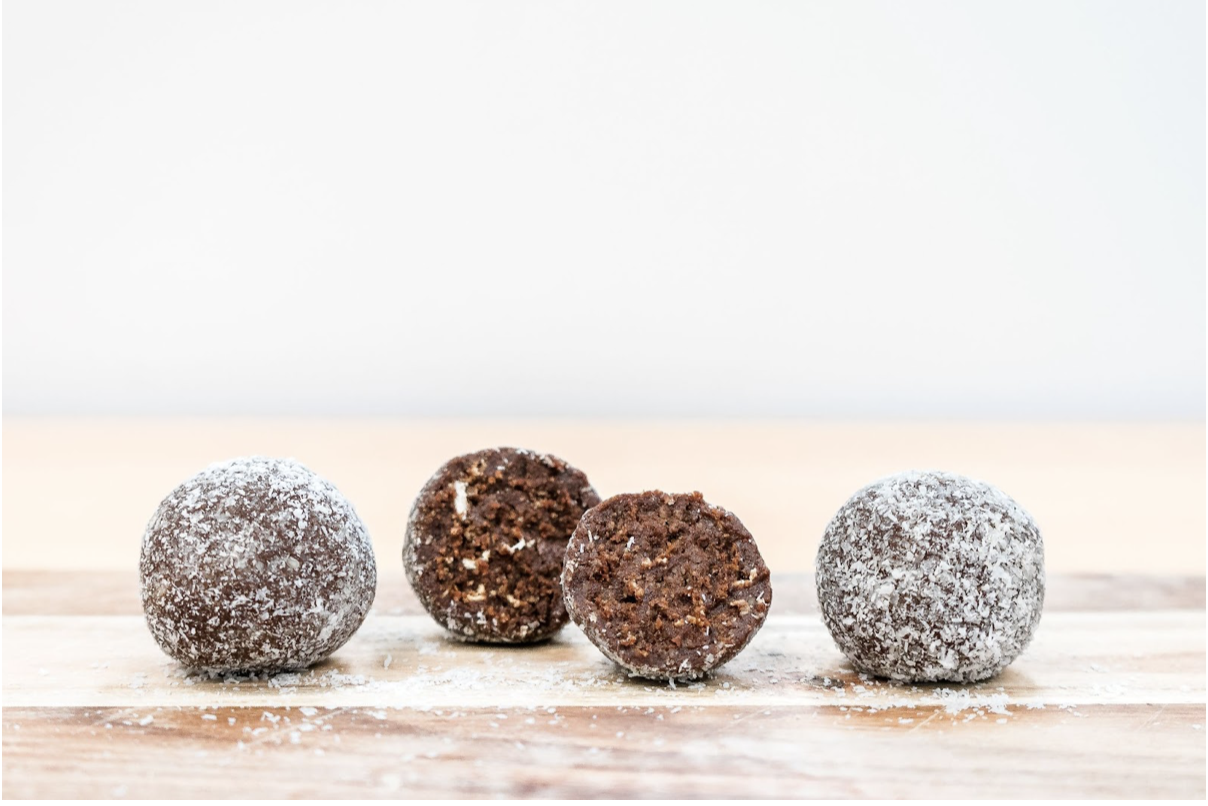
 Smoothies are a great and easy option for sustained energy, whether made at home (including various fruits and vegetables) or purchased from a health conscious vendor. Juices and smaller juice shots provide an extra boost and also enhance the lunch experience with a wide range of colours and textures. Protein balls and snack bars are perfect fillers and much-liked by kids, offering a little dose of natural sweetness without spoiling their appetite for the next meal. 


Other great snack options can be made from the leftovers sitting in your fridge or pantry. Additional protein hits are great morsels to include, but also consider slices of tray bakes from the previous nights’ dinner or muesli pressed into balls or bars. 

Most importantly, have fun with your lunchbox ideas. Explore hacks on Instagram, experiment with your child and kickstart a colourful, delicious and nutritious plan for 2022. 


Choosing healthy and tasty options for your kid’s lunchboxes is often more difficult than it sounds. Find some inspiration in these three recipes!

CHICKPEA SWEETCORN BURGER PATTIES.
Recipe makes 5 patties.

Ingredients:

  • 1 peeled sweet potato cut into chunks, then steamed
  • 200g (1 cup) fresh (or well-drained) corn kernels OR 1 cup frozen kernels, thawed
  • 250g (1.5 cups) cooked or tinned chickpeas, rinsed and
    drained well
  • 2tbs olive or rice bran oil
  • 1 peeled white onion, finely diced
  • 1 peeled and crushed garlic clove
  • 3tbs millet or quinoa flakes
  • 3tbs washed parsley, finely chopped
  • 1/2tsp ground cumin
  • 1/2tsp paprika
  • 1/4tsp ground turmeric
  • 1tsp salt or to taste
  • 1/2tsp ground black pepper
  • 2tbs ground flaxseeds + 6tbs water


Method:

1. Preheat the oven to 180 degrees C and line a baking tray with baking paper.

2. Place the cooked sweet potato in a food processor with the well-drained and dried corn and chickpeas.

3. Blend until the mixture is smooth – with some chunky bits left for texture – and well combined. Keep in the food processor.

4. Heat some of the oil in a saucepan and sauté the onions and garlic for a few minutes until the onions are translucent.

5. Remove from the heat and allow to cool slightly, then add the onions and garlic to the chickpea mixture and pulse briefly in the food processor.

6. Transfer the mixture to a large bowl, add the millet/quinoa flakes, parsley, cumin, paprika, turmeric, salt and pepper and mix well. In a small bowl, whisk the ground flaxseed with the water. Then, using your hands, incorporate the flaxseed mixture into the chickpea mixture until fully combined.

7. Shape everything into 5 evenly sized patties and place on a prepared lined baking sheet. Heat the remaining oil in a large frying pan and then pan fry each patty for 2-3 minutes on each side. Once done, transfer the patties back to the lined baking sheet and bake for 25- 30 minutes, or until cooked through.


VEGAN CASHEW CACAO BLISS BALLS:

Ingredients:

  • 1 cup of raw cashews
  • 8 pitted dates
  • 2 tablespoons raw cacao powder
  • 1 teaspoon of vanilla extract
  • 1/2 cup of shredded unsweetened coconut
  • 2 teaspoons agave syrup


Method:

1. Add cashews, dates, cacao powder and vanilla to a food processor and blend.

2. While blending add the agave syrup.

3. Form the mixture into small balls and then roll them in a bowl with the coconut until coated.

4. Place in fridge until balls are hardened.


VEGAN PROTEIN MUFFINS:
Recipe makes 10-11 muffins.

Ingredients:

  • 2 flax eggs (2 Tbsps ground flaxseed + 5 Tbsps water)
  • 1 1/4 cup dairy-free yoghurt, unsweetened (soy can be used)
  • 2 medium (very ripe) bananas
  • 2 cups GF rolled oats
  • 1/3 cup vanilla flavoured protein powder Nutritional Booster
  • 1/4 cup pure maple syrup
  • 1 teaspoon vanilla extract
  • 1 1/2 teaspoon baking powder
  • 1/2 teaspoon baking soda
  • 1/2 teaspoon sea salt
  • Your favourite topping such as berries, granola, vegan chocolate chips, chopped nuts, seeds, dried fruit, rolled oats, crushed cookies


Method:

1. Preheat oven to 200 degrees C.

2. Lightly grease each slot of a standard muffin tin. Use paper liners to keep the recipe oil-free.

3. Prepare flax eggs in a small bowl, by mixing together the ground flax and water.

4. Set aside about 10 minutes. It will thicken up and become gel-like.

5. When the flax eggs are ready, add all the ingredients
(except the toppings) into a high-powered blender or food processor.

6. Blend until smooth, about 1-2 minutes. Scrape down sides as needed.

7. Pour mixture into each slot about 3/4 of the way full.

8. Sprinkle each one with your kids’ favourite toppings. Don’t press the toppings into the batter. It may yield a flatter muffin.

9. Bake for 15-18 minutes, until lightly golden brown.

10. Insert a toothpick in the middle of a muffin or two. If it comes out mostly clean, they are cooked.

11. Let muffins cool for 10 minutes in the pan before transferring them to a cooling rack, then cool for another 10-15 minutes.

12. It is normal if the muffins might flatten out a little bit

To avoid the liner sticking to the muffin, let them completely cool before enjoying. If not using liners, gently pop out each muffin with a butter knife.